Bicep Heart Photo Requirements: Face, Arms and Framing
Choose one adult portrait for a bicep heart video: file requirements, visible arms, vertical framing and privacy.
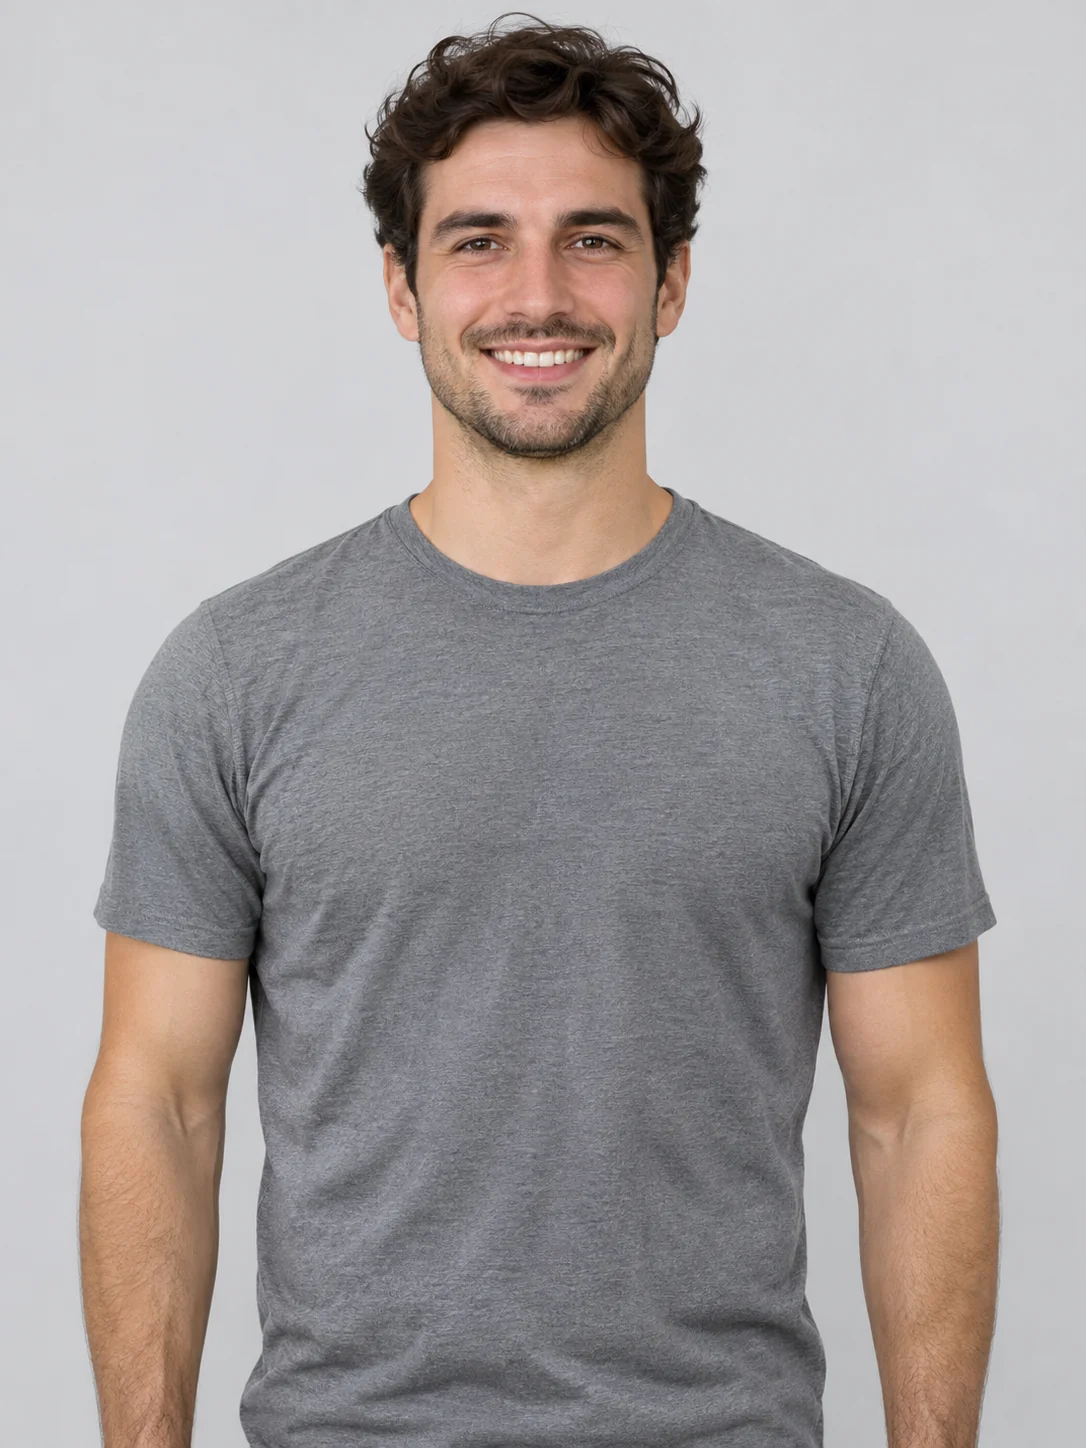
A great starting photo is easy to recognise at a glance: one face, even light and enough room to see the shoulders. You do not need a studio portrait. A recent photo from your camera roll can be enough.
Start with the frame
Choose one consenting adult, facing the camera. Include the head and upper body. A tight face crop leaves less information about posture and clothing; a distant full-body shot makes facial detail harder to see. Leave some space above the head and on either side of the shoulders.
The reference on the homepage shows a single person. This portrait workflow is designed for one consenting adult, rather than group photos, children or pets. A group photo makes the intended subject ambiguous. Use a photo you have permission to use, with the person's agreement to appear.
Frame a vertical clip
First-frame image mode follows your source photo's aspect ratio; it does not automatically turn a landscape photo into a vertical video. Start with a vertical portrait if you want vertical framing. Keep the face, shoulders and both arms inside the crop, with room beside the upper arms for the gesture. A 9:16 composition can suit a phone feed, but do not crop away an arm just to fit that shape.
Check light and detail
Soft daylight or an evenly lit room usually gives a clearer starting image than a bright window behind the person. Look for visible eyes and an unobstructed face. Avoid motion blur, heavy beauty filters and sunglasses. Clothing remains part of your visual reference, so choose an outfit you would be comfortable sharing.
Use a supported file
- JPG, PNG or WebP.
- No more than 10 MB per image.
- At least 300 pixels wide.
- One portrait at a time.
If the uploader rejects a file, check its actual format and size. Renaming a file extension does not convert the image. Export a new JPG or PNG if necessary. A larger pixel count cannot recover detail that was already blurred.
Upload before you generate
In first-frame mode, choose a photo file or enter a public HTTPS image URL. Choosing a file previews it locally; clicking Generate uploads it to the site's configured storage. Check the source URL and confirm permission before generating; your prompt and media URL are then sent to Metaso.
The sample clip on the homepage is a fixed AI reference. It does not change with your upload and is not your generated result. Generation lasts 5 seconds; choose 768P, 1K or 2K according to your pack. Check the availability message beside the generator before submitting a request.
Know where the photo goes
Generating sends the uploaded media URL and your prompt to Metaso. Uploaded photos and generated videos use media URLs that anyone with the link can open. There is currently no automatic deletion schedule. Read the privacy policy and use contact for a deletion request; avoid uploading sensitive or confidential content.
If something looks wrong
Try a more centred portrait if the face is hard to see. If the image cannot be read, export it again in a supported format. A larger, clear source usually gives the model more useful visual detail.